QNX SDP Installation and Setup
This page contains installation steps for the QNX Software Development Package 8.0 on Ubuntu 24.04, based on the official QNX release video.
Official QNX Tutorial
Installation
Sign up for myQNX account from https://qnx.com.
Log in with myQNX. Hover over
Developers, then clickFREE Non-Commercial License.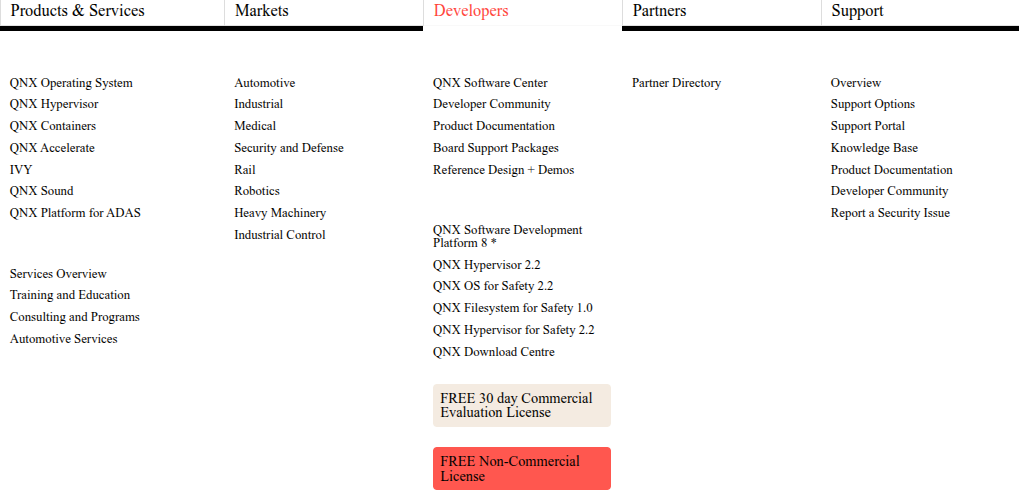
If you click this more than once, you will see this screen after you’ve already requested a license.
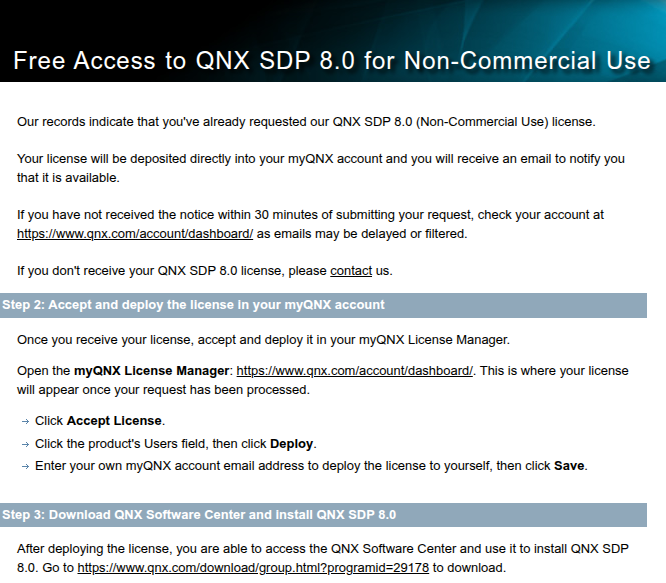
You should receive an email within 30 minutes indicating that your Non-Commercial license is ready.
Go to https://qnx.com/account/dashboard/.
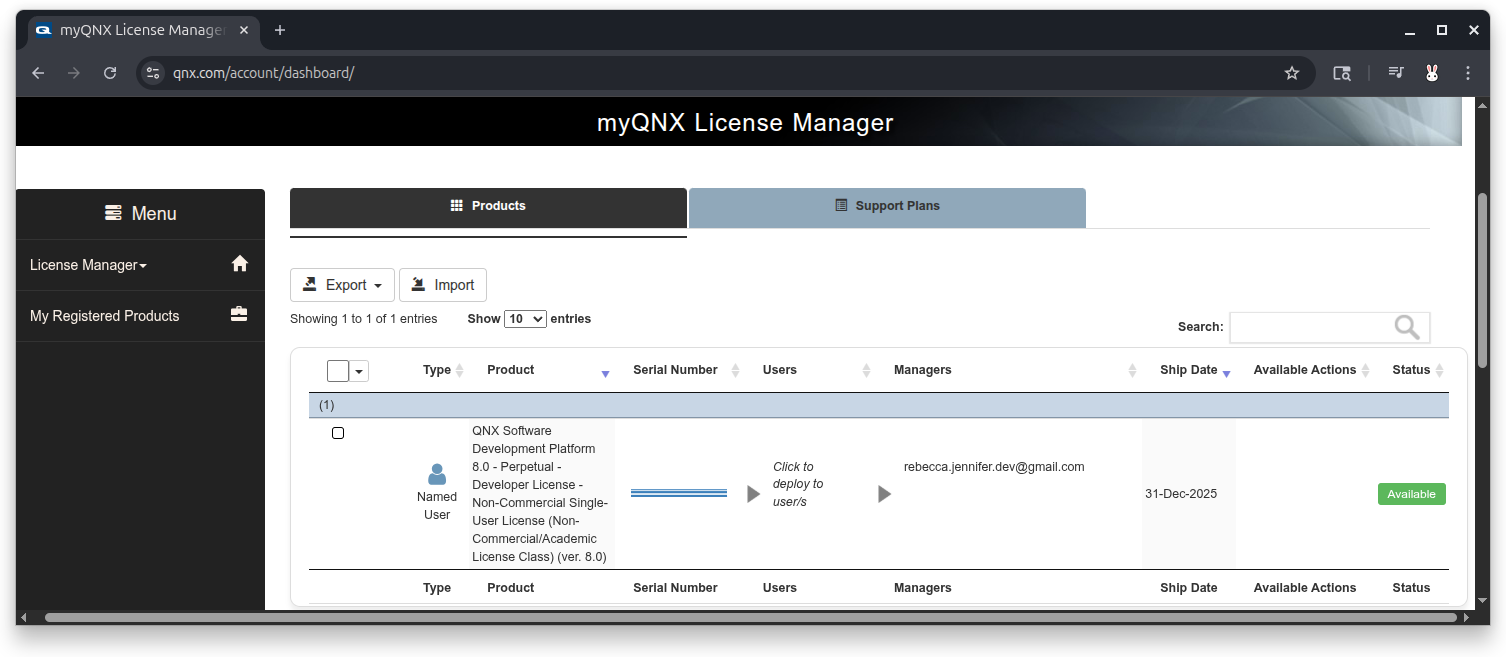
Under the
Userscolumn, click on the textClick to deploy to usersthen on the buttonDeploy. Type the email address used for your QNX account.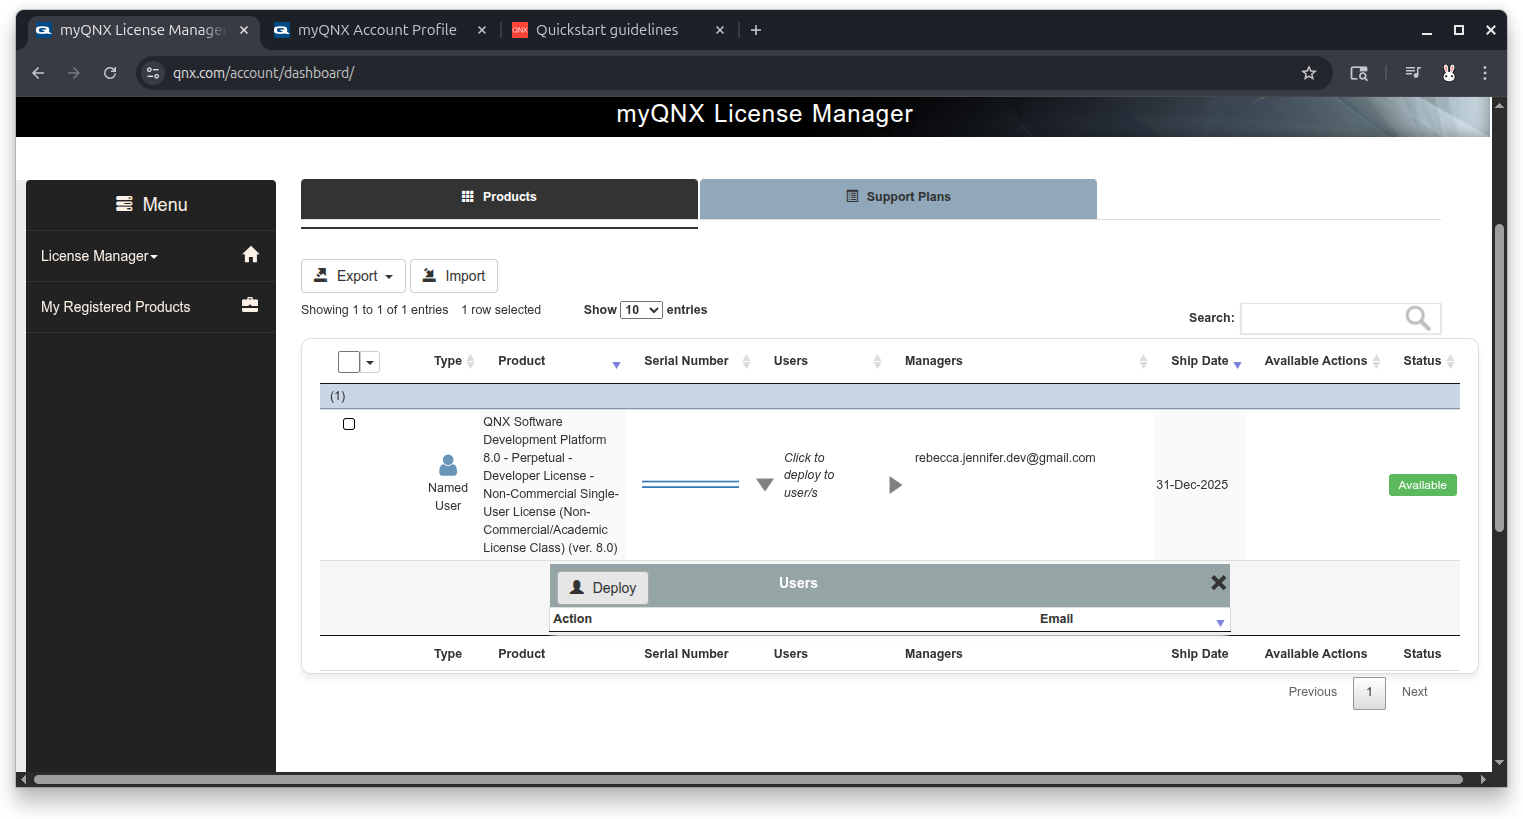

From myQNX home https://qnx.com/account, click on the
QNX Software Centerlink.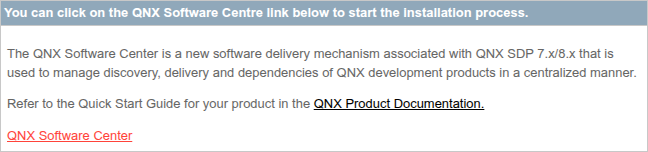
Scroll down to the download section and select the appropriate version for your OS.

In your terminal window, navigate to the downloaded file and make the file executable.
(linux): cd ~/Downloads
(linux): chmod +x qnx-setup-2.0.4-202501021438-linux.run
Run the file to install software center.
(linux): ./qnx-setup-2.0.4-202501021438-linux.runScroll to the bottom of the license agreement by hitting
<enter>several times or typeqto jump to the bottom.
Type
yto accept agreement.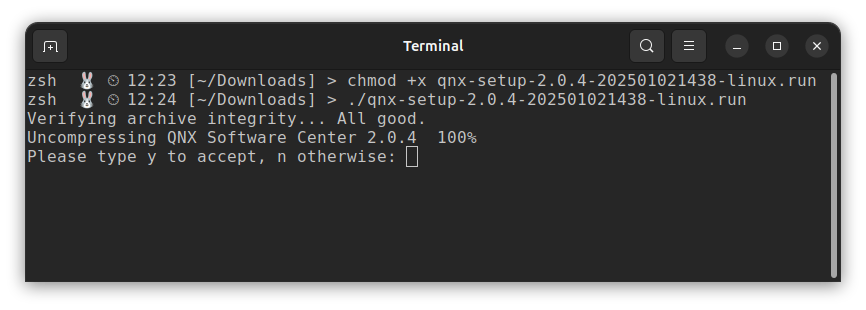
Specify installation path. Hit
<enter>to accept the default install location.Example:
Specify installation path (default: /home/flux/qnx):After specifying the installation path, your terminal will look similar to this.
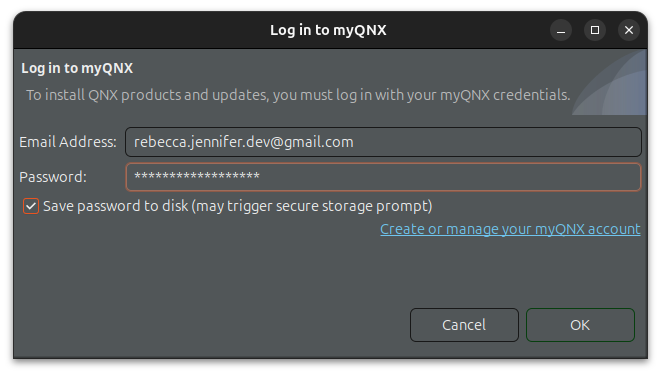
(linux): chmod +x qnx-setup-2.0.4-202501021438-linux.run
(linux): ./qnx-setup-2.0.4-202501021438-linux.run
Verifying archive integrity... All good.
Uncompressing QNX Software Center 2.0.4  100%
Please type y to accept, n otherwise: y
Current directory: /home/flux/Downloads
Specify installation path (default: /home/flux/qnx):

Installing QNX Software Center into /home/flux/qnx/qnxsoftwarecenter
User configuration is stored in /home/flux/.qnx
Launching QNX Software Center using /home/flux/qnx/qnxsoftwarecenter/qnxsoftwarecenter
Type your myQNX credentials.
From the QNX Software Center window, click
Add Installation.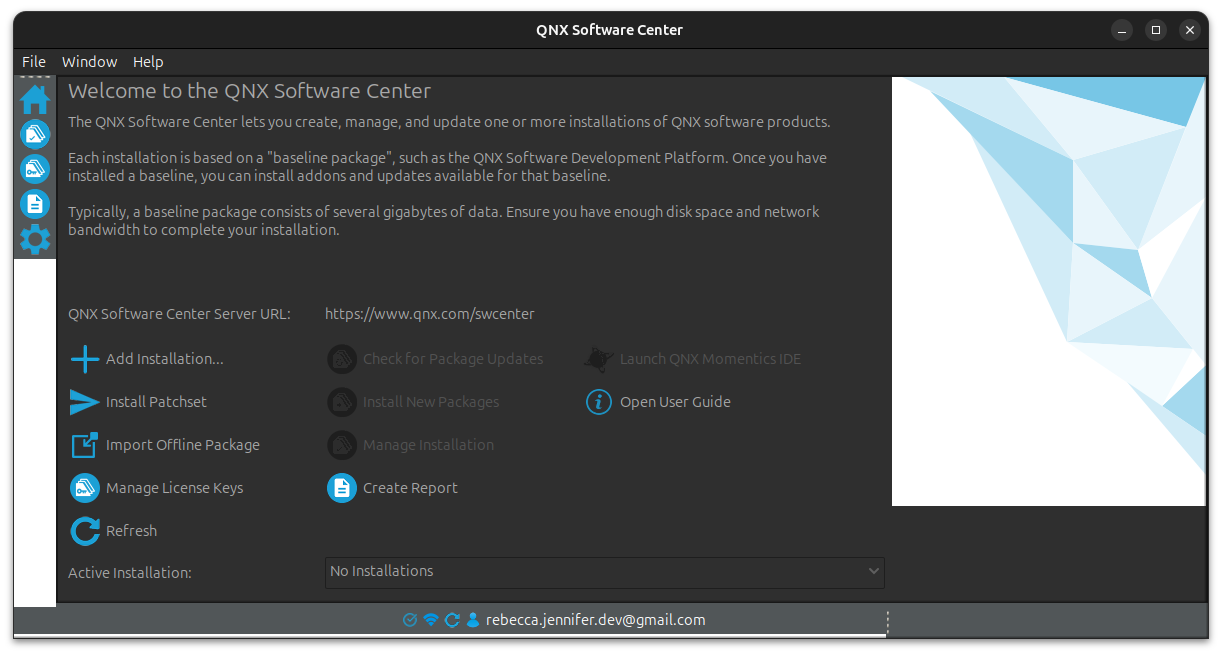
Expand
QNX Software Development Platform 8.0, selectQNX Software Development Platform 8.0and clickNexton this and the following window.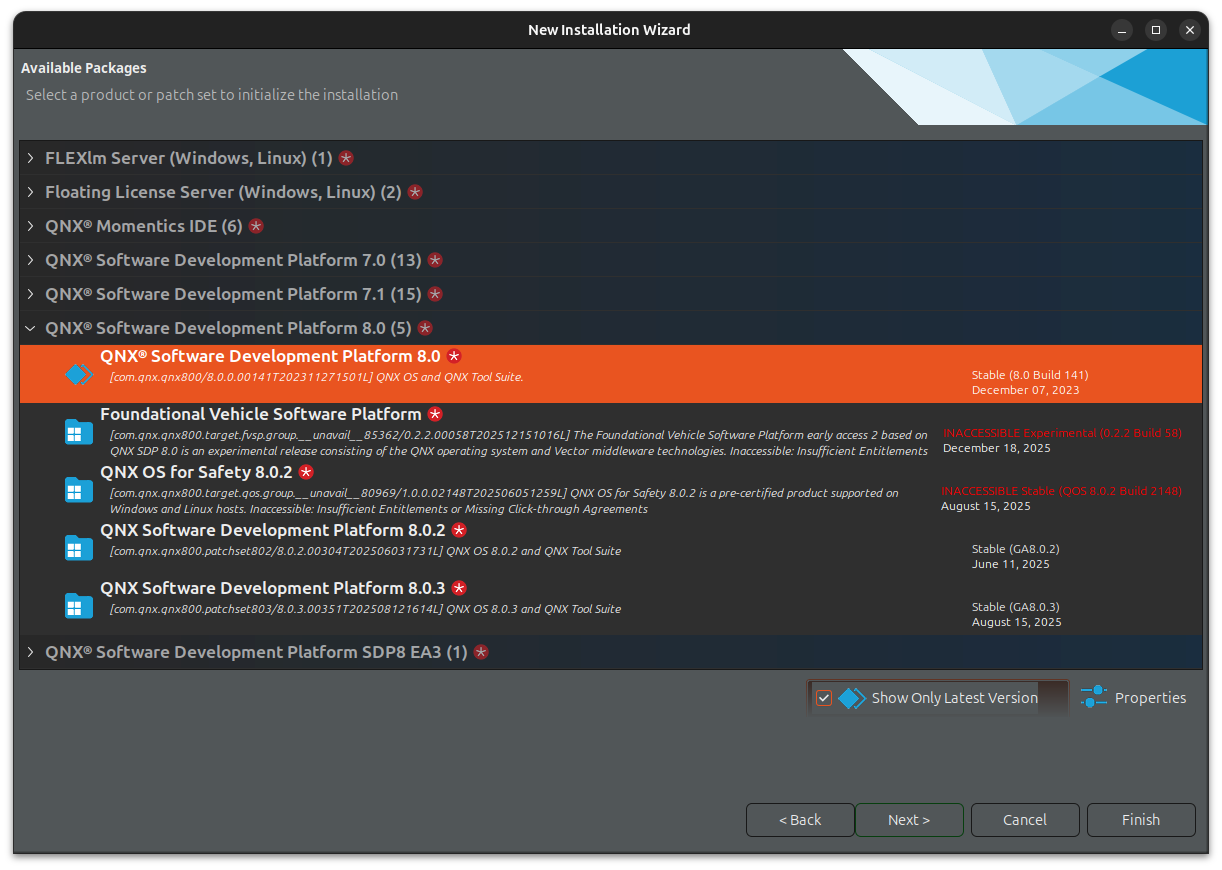
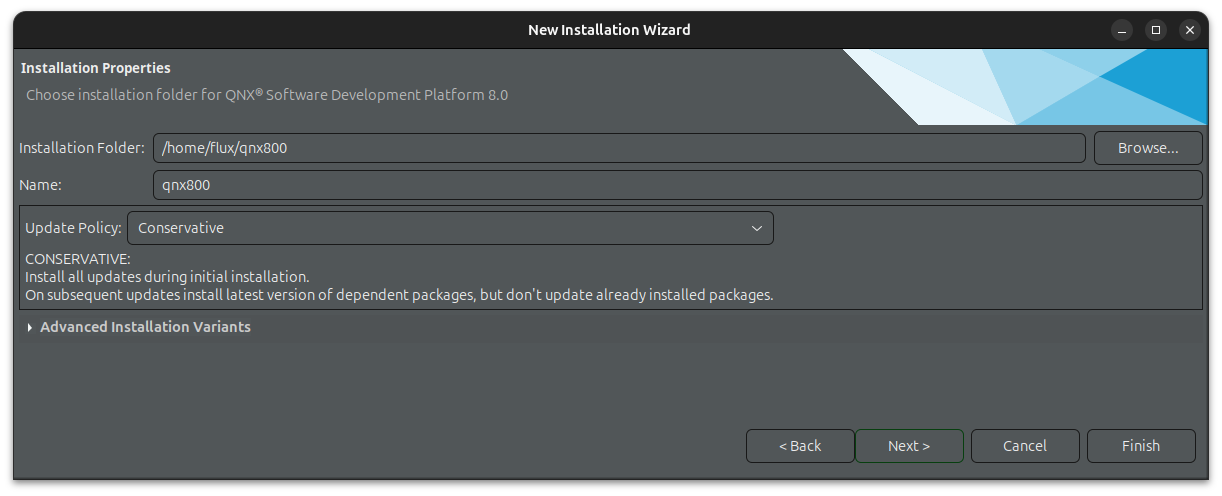
The window might show
Synchronizing with remote repository, it may take a whilefor a few minutes. ClickNextwhen the window changes. ClickNextfor the next couple screens.
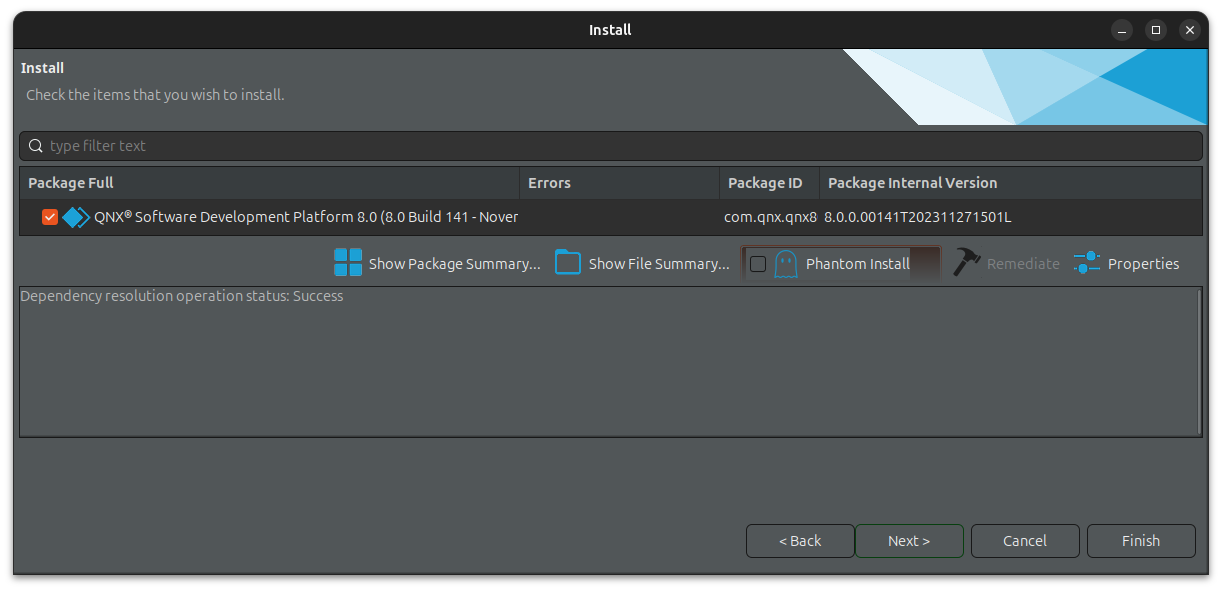
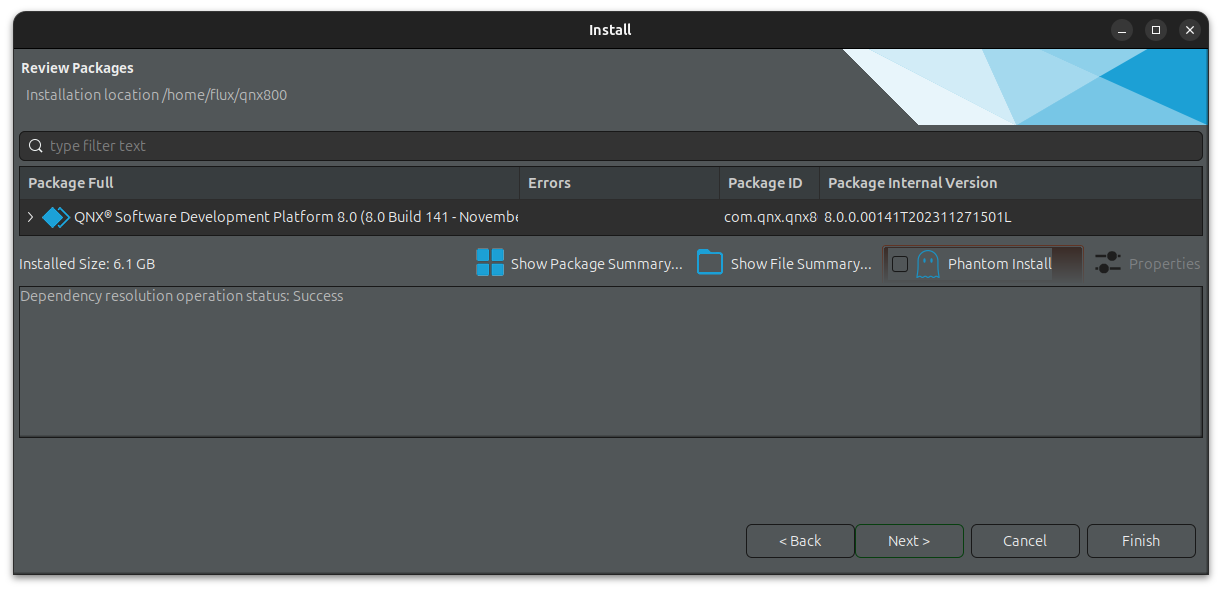
Accept the license agreement and click
Finish.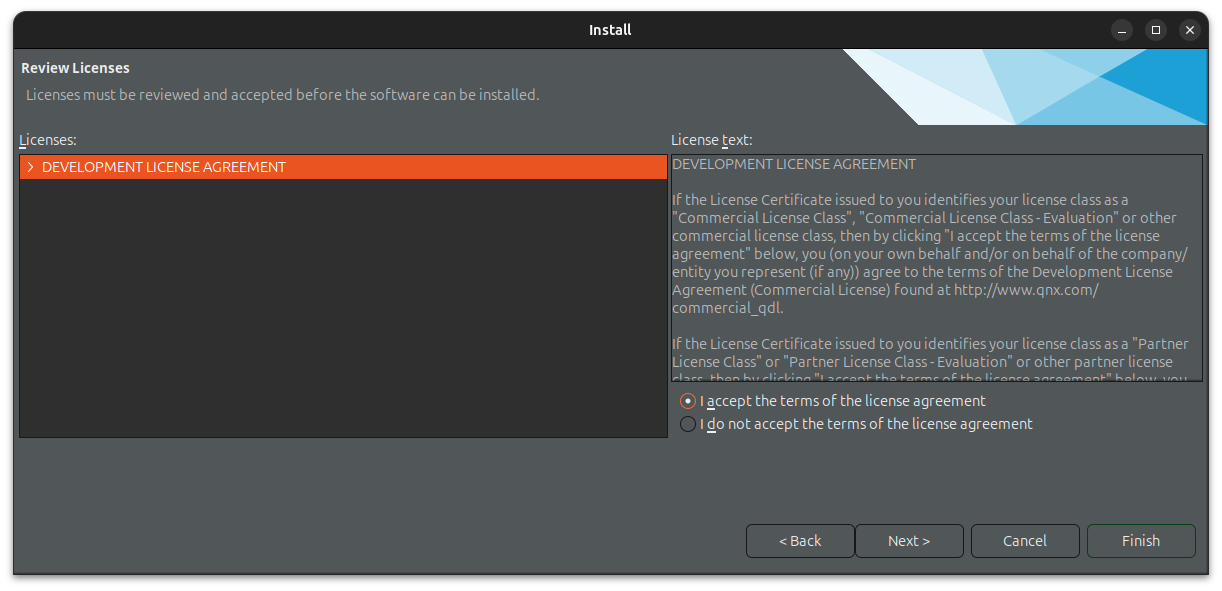
After a few minutes, this window will pop up. Click
Close.
From QNX Software Center, click
Installedand expandQNX Software Development Platform 8.0to view installed packages.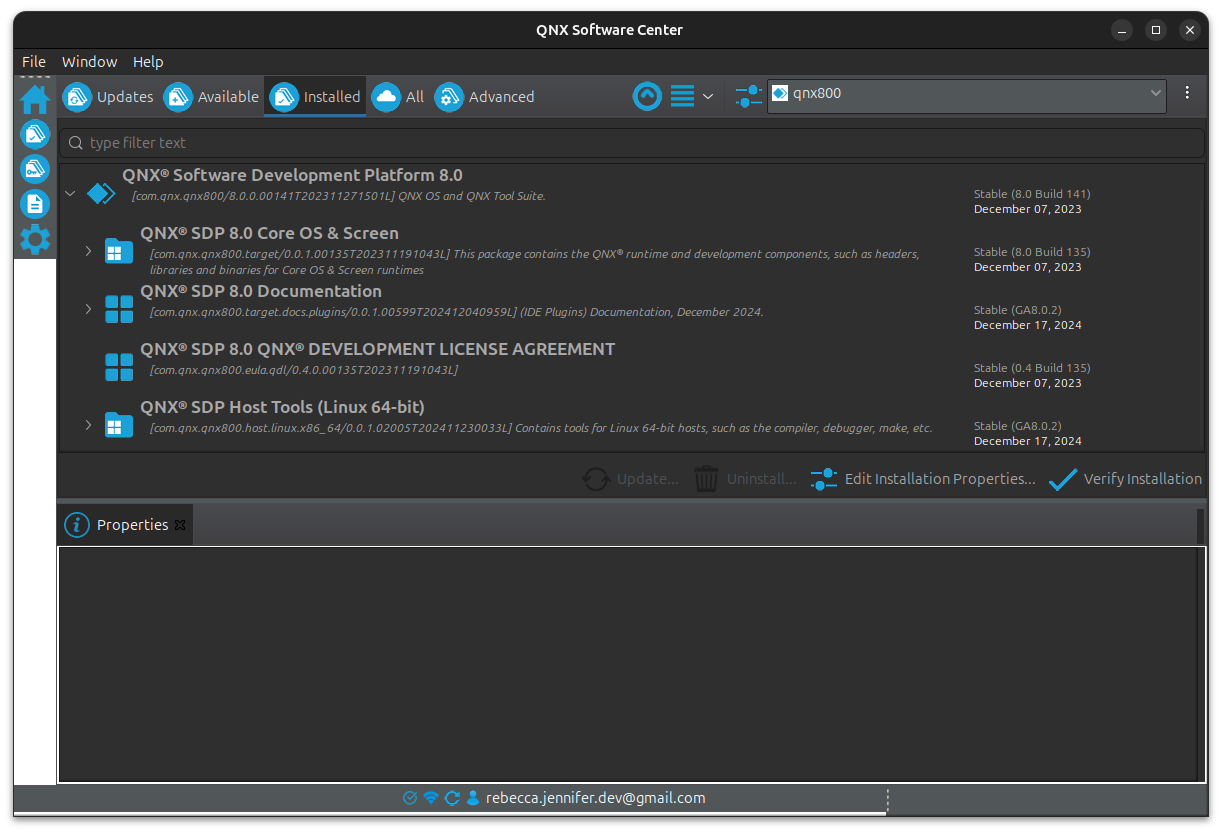
Installed Files
After installation, in your terminal, show the contents of th QNX installation folder.
(linux): ls ~/qnx800
host qnxsdp-env.bat qnxsdp-env.sh target| File Object | Description |
|---|---|
host |
Contains list of host binaries included in SDP binaries that run on Linux / Development host that allow you to best interact with QNX SDP |
target |
Contains list of binaries, libraries, tools intended to run on QNX target |
qnxsdp-env.* |
Scripts that set up the shell environment for QNX. |
Shell Setup Script
Before executing QNX commands on the command line, you must source the appropriate qnxsdp-env.
# Sets up shell environment for QNX development
# Sets environment variables:
# QNX_HOST=/home/username/qnx800/host/linux/x86_64
# QNX_TARGET=/home/username/qnx800/target/qnx
# MAKEFLAGS=-I/home/username/qnx800/target/qnx/usr/include
source qnxsdp-env.sh
QNX Momentix IDE
QNX Momentix IDE is the IDE for QNX that comes with QNX Software Center. Follow instructions from the video to install this software.
Visual Studio Code QNX Toolkit
The VS Code QNX Toolkit extension allows you to create and run QNX projects from VS Code.
Install
QNX Toolkitfrom extensions.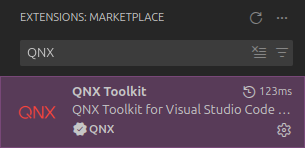
Ensure prerequsites are installed. These are listed in the quickstart guide on the QNX website.
Click the QNX extension in the Activity Bar on the left side of the screen. In the sidebar under
QNX COMMANDSexpandConfigurationand selectOpen QNX Tookit Walkthrough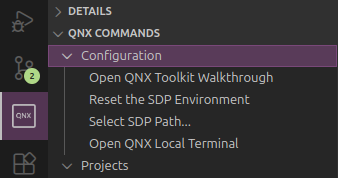
From the main window, click
Edit Settings.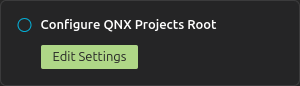
Go to VS Code settings with the shortcut
Ctrl + ,.Expand
Extensionsand selectQNX Toolkit.Set
Sdp Pathis set to the installation directory andDefault Projects Rootto the project directory path.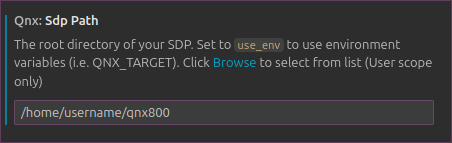
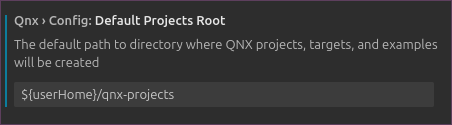
The corresponding properties in
settings.jsonare listed below."qnx.sdpPath" : "/home/username/qnx800" "qnx.config.defaultProjectsRoot": "${userHome}/qnxprojects"